
Wedding Weekend Organization
While everyone is getting into the holiday season, I am still soaking up my bridal season! I married my high school sweetheart last month and it was our dream weekend! Let’s get into all of the wedding organization I put together for the weekend!
I felt it was really important to bring my organizational skills to the wedding weekend. While I had amazing planners and vendors, there was an element of “trust the process” I had to buy into. So whatever I could do beforehand that was going to keep me calm, avoid a million questions and also be helpful to my planners, I wanted to do it!
Here is what I did to make my wedding weekend run as smoothly as possible!
What I Used

I purchased some of my favorite clear bins from the Container Store that have many uses and come in a variety of sizes. I knew that I wanted to be able to have all of the different items that needed sorting in their own individual boxes, so this seemed like the best solution.
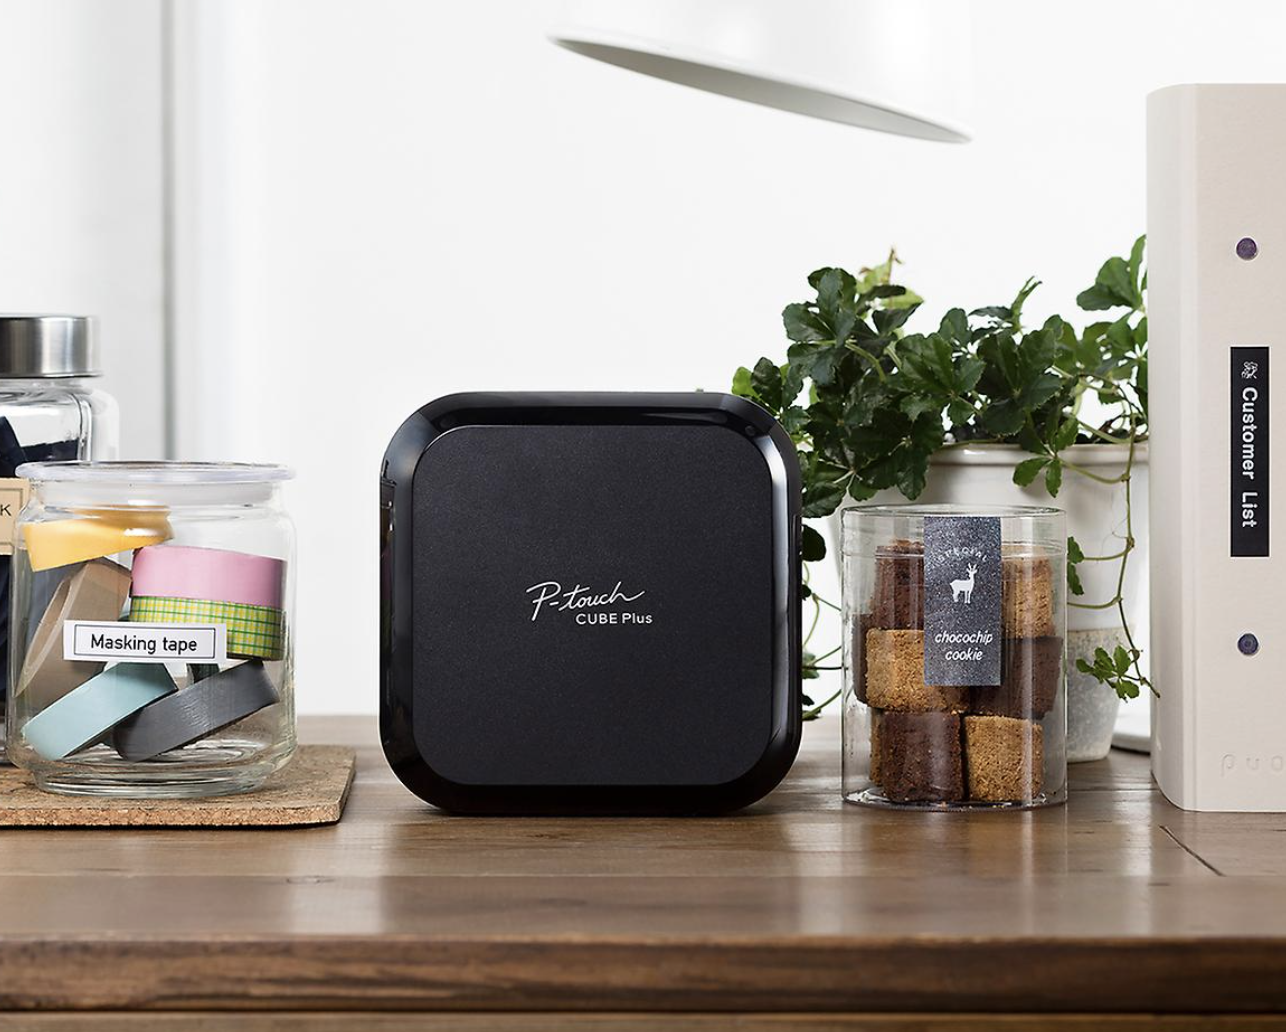
I needed something to label the outside of the bins, so I of course used my label maker! This item is optional, I could have used sticky notes or blue tape on the outside of the boxes as labels. But if you’re in the market for a label maker, this is the one I have and recommend!
I also used manila envelopes to contain the sorted items, as well as, paper clips and a sharpie, but I had those on hand already.
How I Did It
I used the same principles as any other organizing project - categorize, organize, contain and label! The following descriptions were very specific to my wedding, but can be applied to anyones event.
Categorize/Organize
The brunt of the organizing came from sorting the place cards for each night. Each name needed to be sorted by table number and then by seat number at the table. My planner created the table numbers and seat numbers within the platform she used for wedding planning and then I placed the guests in seats online. Once we were sorting the physical name cards for each night, we placed them in order by table and seat number front to back and kept them together with paper clips.

Aside from the menus and seating assignments, we also had to organize all of the decor. For the night before, we were providing all of the decor, rather than renting, so I separated out exactly what decor and signage was going to go on each dinner table, on the bars, and elsewhere around the venue. For example, the bins for the rehearsal dinner tables had the exact amount of placemats, votive candles holders (with candles already in them) and horseshoes to place on the napkin. Within each of these rehearsal bins, I printed out a visual of the exact way I wanted the decor set up on the tables. I created this graphic on Canva, which is another tool I couldn’t recommend more for wedding planning!


Contain
I kept the signage for both nights in separate bins from the decor bins in order to avoid it possibly getting damaged by the larger decor pieces. So in addition to the “table” bins for the night before there was a “signage” bin that contained the bar menus, menus for dinner and the welcome party, welcome bag signs and, of course, the sorted name cards.
For the wedding day, we essentially had three separate events - the ceremony, the cocktail hour and the reception. Each of these had their own signage and decor which required separate bins. Each bin contained the specified signage (bar menus, seating chart, menus with name cards etc.) and sign holders, as well as assorted decor items such as guest book and pens, photos of us, table numbers and disposable cameras.
Each grouping of signage was placed in a manila envelope along with a short description of how many signs, what they were being held with and where to be placed.
Label
I labeled the manila folders with where the items inside were to be used and what exactly was in the envelope. For example, for the ceremony signage I wrote “ceremony signage” at the top of the envelope and then “unplugged ceremony sign” & “sip & seat" sign” under it. After that, I used my label maker to print labels for each bin of what was inside of the bin for my planners to easily distribute and unpack.

These steps I took were definitely not required, but I do think everyone involved appreciated the very clear direction I provided! And I got to reuse all of these bins later for items in my home! So nothing went to waste! If you’re planning a wedding, I hope these tips are helpful and keep your wedding weekend running as smoothly as possible!